There are several ways that you can specify the “From” information for emails within your system. Both the email address and the sender name can be customized. There are many reasons you may want to do this. Perhaps your SMTP settings have a general company email like testcompany@gmail.com but you want a campaign or workflow to send emails from membership@testcompany.com, or from a specific user's email address like paige.tester@testcompany.com. Follow these steps below to learn how the system determines which email address to use by default, and how you can customize your options:
Part 1: How To Determine Which Configured Sender Email Your Leads Will be Receiving Emails From
- Using the grid below, you can see how the system determines what to use as the sender email address:


NOTE: If you are using Mailgun, the company email will be used, if the lead is not assigned. You can find this under Settings > Business Info > Company Data > Company Email.
Part 2: Checking if Contacts Are Assigned or Unassigned in Your System
- Check in Contacts/Smart Lists
- Navigate to Contacts > Smart List
- Search for the contact using the Quick Search feature.
- Within the Contact record, you’ll see “Assign to” if the Contact is unassigned, or the name of the assigned user if they are assigned to someone.

- Check in Conversations
- Search your Conversations > Click on the icon on the right to view the Contact Details
- Click the Contact’s icon and you’ll be redirected to their full Contact Record, where you can see the assigned user (or lack of).
Part 3: Places You Can Configure the Sender Email
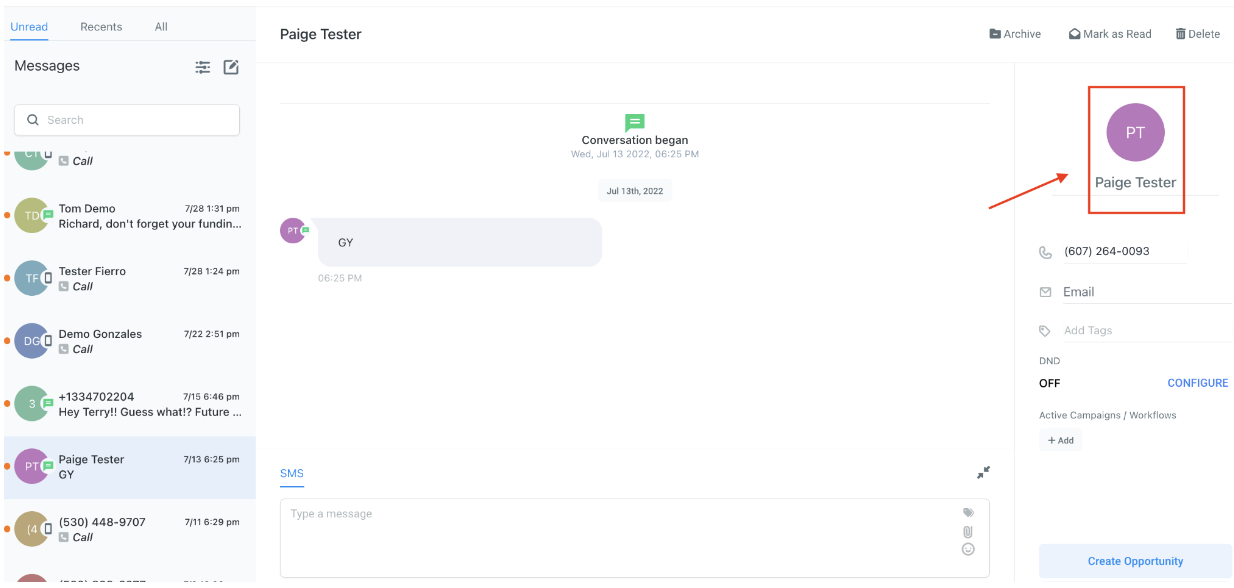
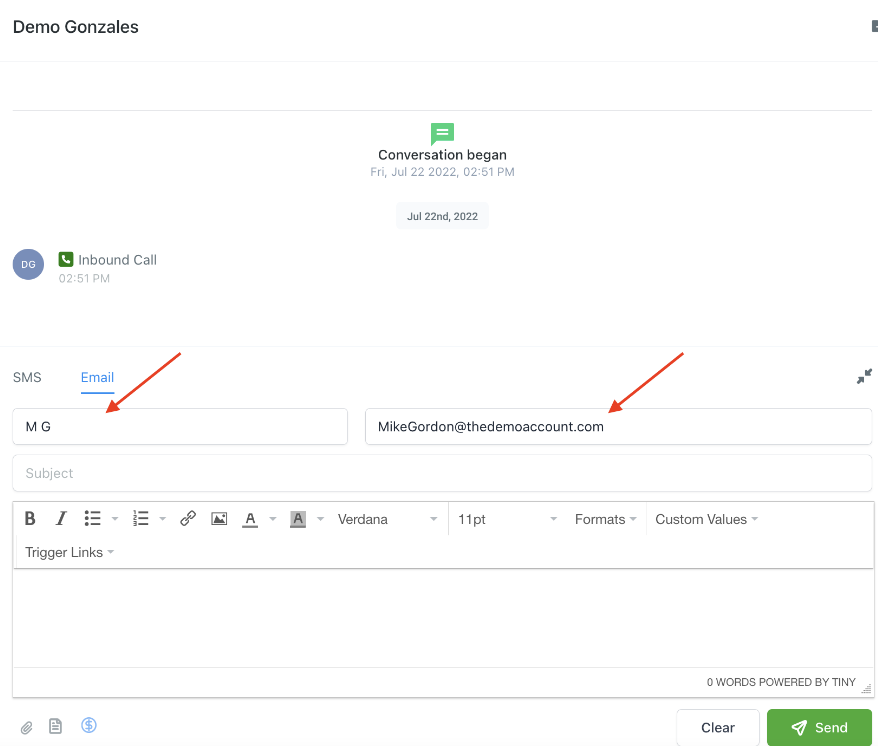
- Manual email in the Conversations tab. (The From email will be the user logged-in email by default.)

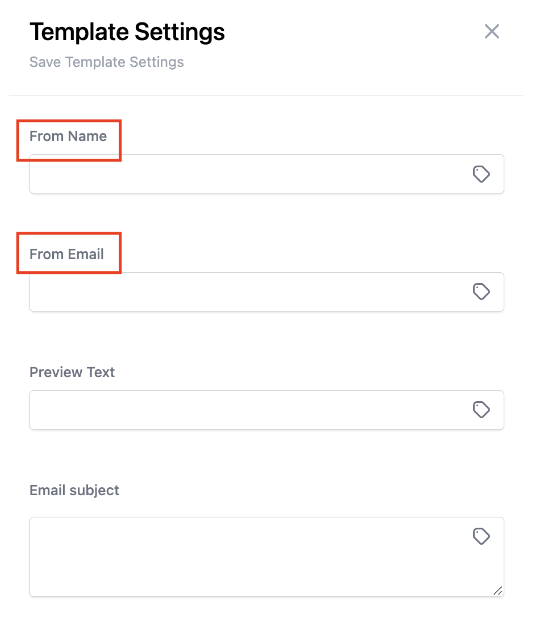
- Email templates for the Email Builder. Navigate to Marketing > Emails > Templates > Edit. Once a template is created, click on Settings. Here you can configure the From Name and From Email.
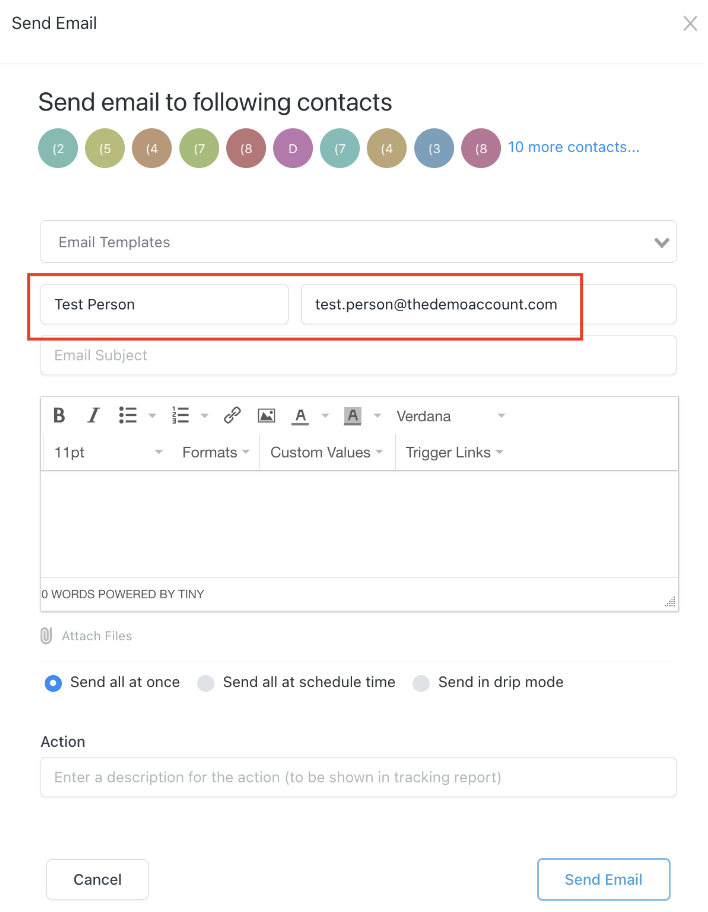
- Bulk Actions in Contacts/Smart Lists. Click into Contacts > Smart Lists > Select Contacts > Send Email.
- Workflow Settings. Click into Automation > Workflows > Create or Edit a Workflow. Once in a Workflow, click Settings > Configure Sender Address

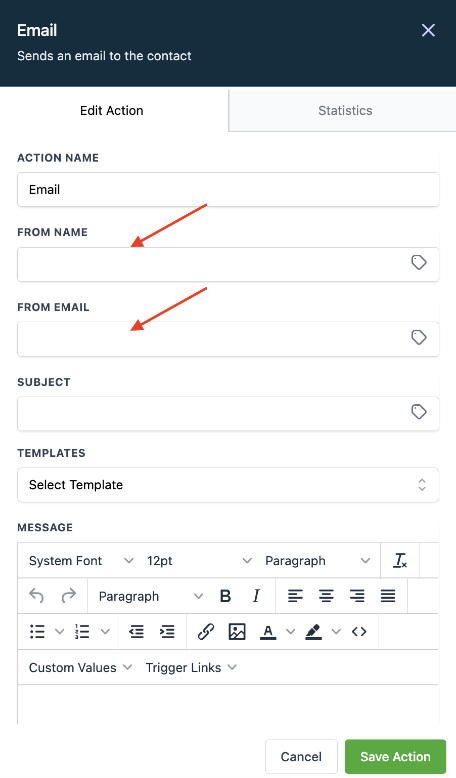
- Workflow Send Email Action. When adding a Send Email action in the Workflow builder, you can customize the From Name and From Address in the Action details.
- Campaign configuration. Click Automation > Campaigns > Create/Edit Campaign. Expand the Campaign Configuration and configure the information.
- Triggers - Send email action. Navigate to Automation > Triggers. Create or edit a Trigger. When adding the “Send Email” action, you can customize the From/To information.
Was this article helpful?
That’s Great!
Thank you for your feedback
Sorry! We couldn't be helpful
Thank you for your feedback
Feedback sent
We appreciate your effort and will try to fix the article