The Email Builder is an important section of your system. In it, you can create and save templates and schedule email campaigns. The Email Builder contains two sections - Email Campaign and Templates. The Email Templates are where you can customize the branding, layout, and design of the email, and the Email Campaigns are for adding a message and delivery options for sending to customers and leads. Read on to learn how to navigate to and use the email builder.
Step 1: Creating Email Templates
- Click + New to get started.
- Choose the option of the template you wish to create. You can create a template using the Template Library, reusing a Campaign which is sent or scheduled, or you can use a Blank Template. If using the Blank Template, you can choose between “Design Editor” and “Code Editor”.

- NOTE: Design Editor = drag-n-drop while Code Editor = HTML

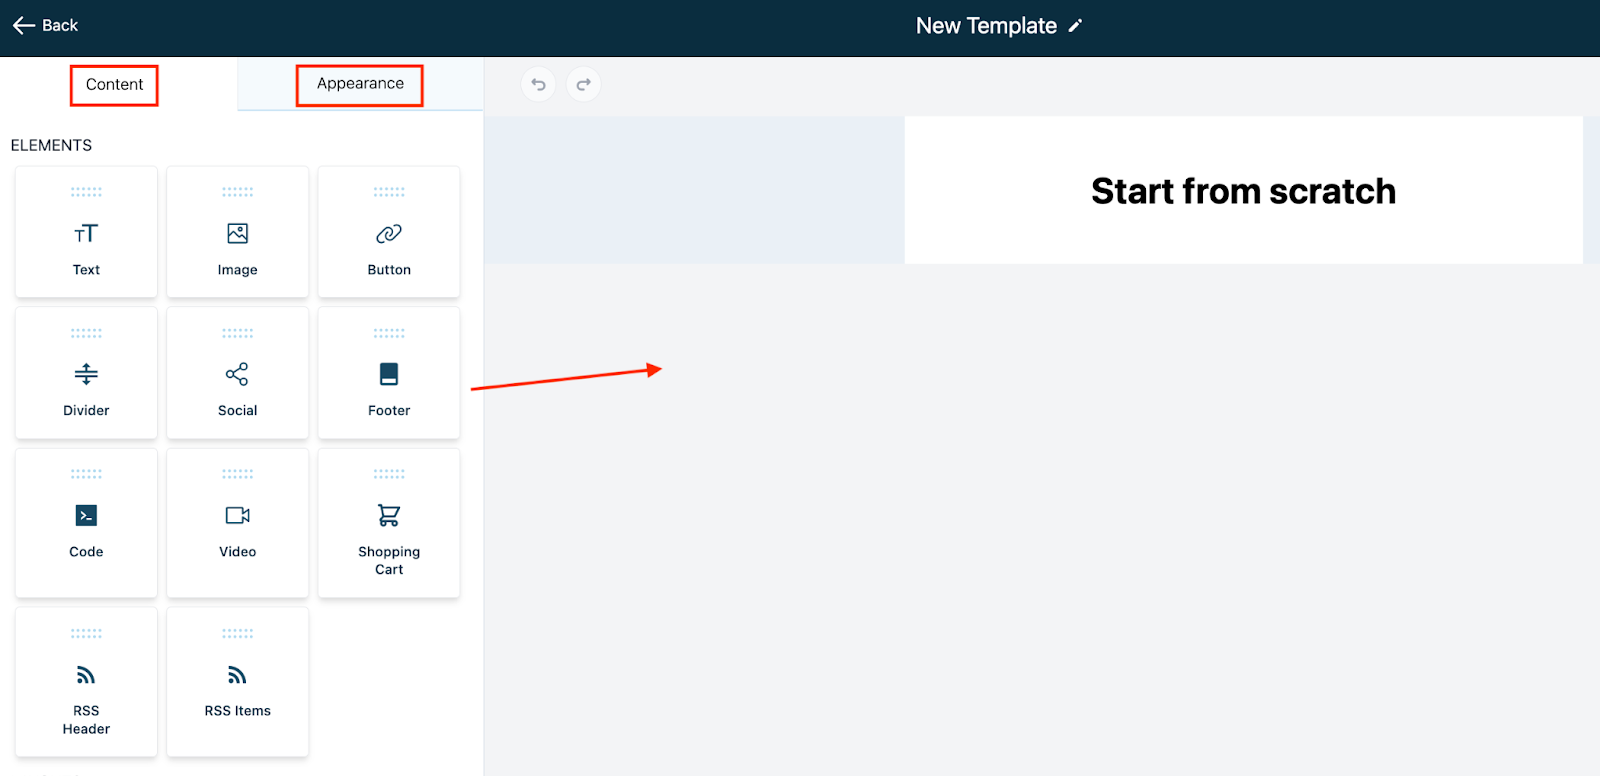
- Toggle between “Content” and “Appearance” tabs to customize your email template. In the Design Editor, use the drag-n-drop elements to drag them into the center of the screen to create your template. In the Code Editor, add your custom HTML.

- Save any changes before you leave the builder using the “Save Template” button in the top right corner.
- You can also click the three-dot menu icon to open up the menu options for: Test Email, Preview Template, See Version History, and Settings. Under Settings, you can add customized preview text, include a subject, specify the email and from name, and more.

Step 2: Creating Email Campaigns
- Click “Create Campaign” in the top right corner to start creating a campaign.

- Choose the template you wish to use. If you hover over the desired template you’ll see icons appear to select (checkmark) or preview (screen).

- You’ll be redirected to the Builder page, where you can make any additional edits and customizations.
- Save your changes.
- You can click the three-dot menu icon to open up the menu options for: Test Email, Preview Template, and See Version History.

- Click “Send or Schedule” when you’re ready to send or schedule-to-send the Email Campaign.
- This will open up the Sending Options, where you can choose how and when you want to schedule the Email Campaign to be sent and determine who will receive it. You can completely customize this section, from scheduling batches of emails to go out at a certain time to choosing a smart list of contacts to send to and more.
- Save and schedule or send your email campaign.

Pro Tips:
- See Version History in a template to review and restore an older version of an Email Template
- Create Folders for managing multiple templates and for managing campaigns too. This will help you stay organized as you add more and more!
Was this article helpful?
That’s Great!
Thank you for your feedback
Sorry! We couldn't be helpful
Thank you for your feedback
Feedback sent
We appreciate your effort and will try to fix the article